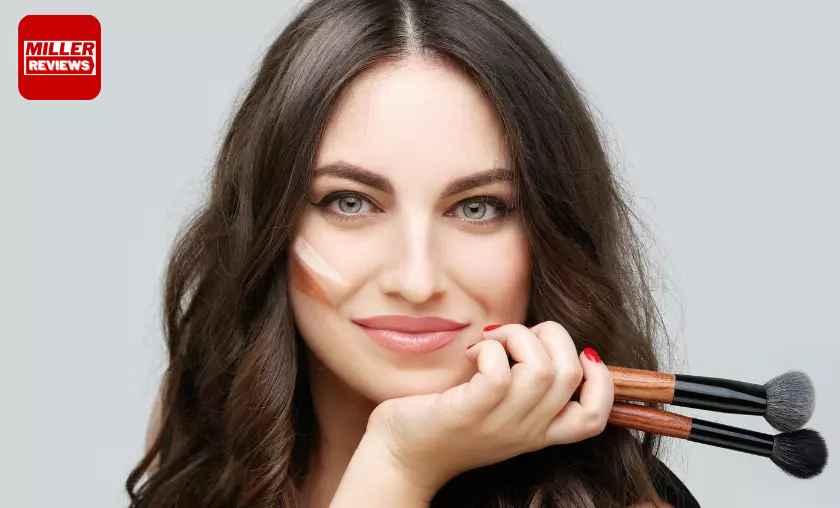
Our beloved beauty products can bring out the best in us, accentuating our favorite features and reflecting our personal definitions of beauty. It’s time to embrace the transformative magic of makeup and discover how to apply makeup the right way to boost our confidence to face the world with unshakable determination.
But here’s the thing: mastering the art of makeup application is no small feat. It’s all about finding the proper techniques and striking that perfect balance. Applying your makeup correctly and in the right amounts can work wonders, allowing you to achieve the beautiful look you’ve been dreaming of and make the most out of your prized cosmetics.
Table of Contents
Are you ready to unlock the secrets of natural-looking makeup that keeps your skin radiant all day long? Get ready to dive into the world of flawless application with these essential beauty tips. We’ll cover everything from the art of applying liquid foundation to the precision of using gel eyeliner, giving you a step-by-step breakdown that will empower you to create a flawless look that truly represents your unique beauty. Let’s get started and embrace the transformative power of makeup!
Time to Learn How to Apply Makeup
Alright, makeup enthusiasts, listen up! If you want your makeup to last and look absolutely stunning, primer should always be your go-to first step. It’s the secret weapon that preps your skin, fills in those pesky lines and wrinkles, and creates a flawless canvas for your makeup to shine. Plus, it ensures that your makeup stays put for as long as possible. Remember, opt for a lightweight and oil-free primer for the best results.
When it comes to primers that genuinely deliver, look no further than Colorescience. They offer a range of primer options, from brightening to mattifying, to get your face ready for that perfect closeup. What sets Colorescience apart is their commitment to gentle, mineral-based makeup free from harsh chemicals. With Colorescience, you can trust that your skin will be treated with care while achieving a flawless makeup look.
The 1st Step is to Apply Moisturizer:
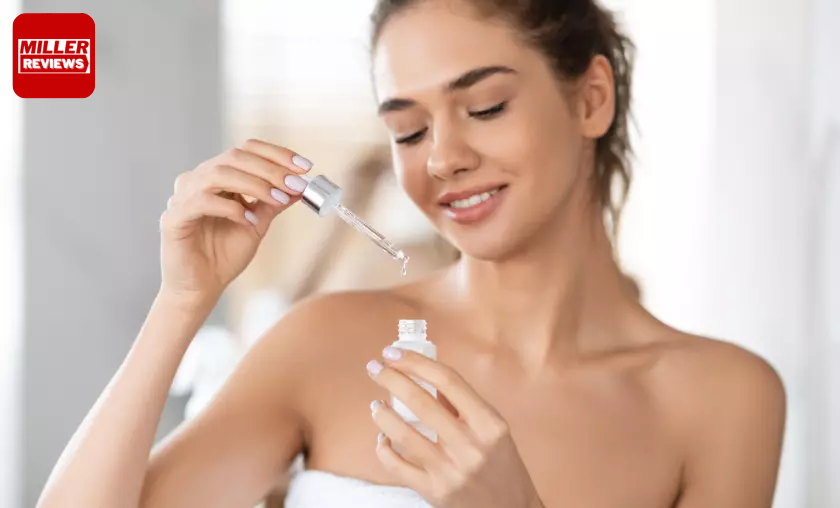
Let’s talk about the crucial step of prepping your skin before diving into your makeup routine. And what better way to start than with a high-quality moisturizer? Choosing the right Moisturizer is key to achieving that flawless look. So, let’s break it down and explore the different types of moisturizers you can use, starting from the lightest to the heaviest options:
- Face Mists: These refreshing water-based solutions are like a quick pick-me-up for your skin. While they won’t provide deep hydration, facial mists can help maintain a dewy look throughout the day. Spritz them on when your skin is dry, and enjoy that radiant glow.
- Serums: Lightweight and easily absorbed, serums are the superheroes of skincare. With a wide range of options available, they target specific skin concerns. Some serums focus on moisturizing to prevent wrinkles, while others brighten up a dull complexion. Find the perfect serum to give your skin that extra boost.
- Lotions: The trusty go-to for many, lotions are versatile moisturizers for various skin types. Look for “non-comedogenic” labels to ensure they won’t clog your pores. Keep your skin hydrated and happy with a lotion that suits your needs.
- Creams: When skin needs serious TLC, turn to cream moisturizers. These thick and nourishing solutions work wonders for excessively dry complexions. Use a day cream as a base under your makeup, and let a night cream provide intense moisture while you sleep. Wake up to soft, supple skin.
- Oils: For an extra dose of hydration, oils come to the rescue. Certain oils are fantastic options for those with dry, sensitive, or normal skin. However, if you’re prone to acne or require oil-free makeup, it’s best to steer clear of oil-based moisturizers.
Mastering the art of applying Moisturizer is essential for achieving healthy skin. Begin by pouring a small amount, roughly the size of a quarter, onto your fingertips. Spread the Moisturizer across your forehead, starting from the center and moving outwards and upwards. Repeat the process on your nose and cheeks, ensuring even application to avoid clogging pores. Use gentle circular motions to rub in the Moisturizer, allowing it a few minutes to dry before proceeding to the next step.
The 2nd Step is to Prep with a Primer:
Now that your skin is well moisturized, it’s time to take your makeup game to the next level with primer. Primer is the secret weapon that will make your makeup last longer and create a flawless finish. It acts as a base for your foundation or face makeup, smoothing imperfections and creating the perfect canvas.
To apply primer, start by squeezing a small amount onto your fingertips or your preferred makeup tool. Remember, a little goes a long way. Begin at the center of your face and gradually blend it outwards, covering your cheeks, forehead, and chin. Remember to use a dedicated eyelid primer to ensure your eyeshadow stays put and looks professional all day. This will prevent creasing or patchiness, especially if you have oily eyelids.
By incorporating primer into your routine, you’ll achieve a smoother application and prolong the wear of your makeup. So get ready to elevate your makeup game and enjoy a flawless, long-lasting finish that will make heads turn.
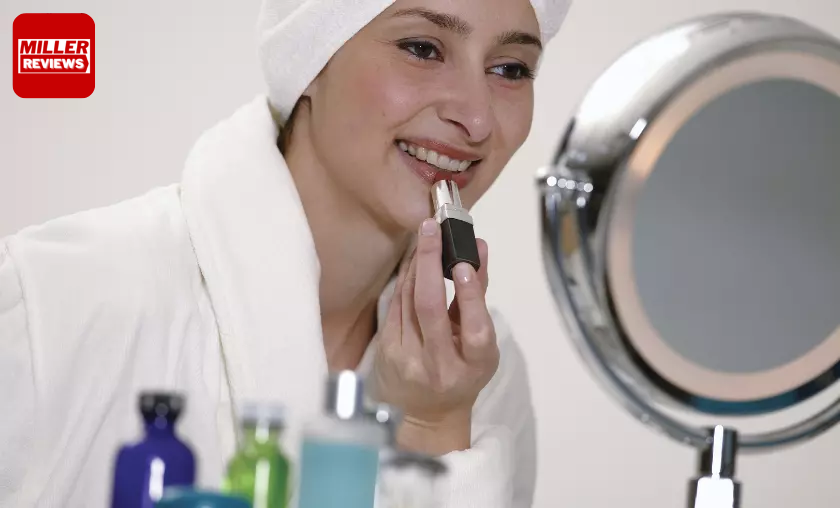
The 3rd Step is to Use Liquid Foundation:
When it comes to finding the perfect foundation, the key is to match it seamlessly with your skin tone. Test different foundation colors against your jawline and see if it blends in naturally without any noticeable lines. It may take some trial and error, but finding the right shade is essential for a flawless finish.
Once you have your ideal foundation, consider the tools you’ll use to apply it. Using your fingers can be effective for lighter coverage, but wash your hands before and after application to avoid any unwanted mess. If you prefer a more full-coverage look, reach for an applicator brush or beauty blender. Start from the center of your face and blend the foundation outward, using buffing motions to create a smooth and even texture. You can also try stippling with a damp sponge to ensure the foundation reaches all the nooks and crannies.
By selecting the perfect shade and using the right application techniques, you’ll achieve a flawless foundation that enhances your natural beauty.
The 4th Step is to Use Good Concealers :
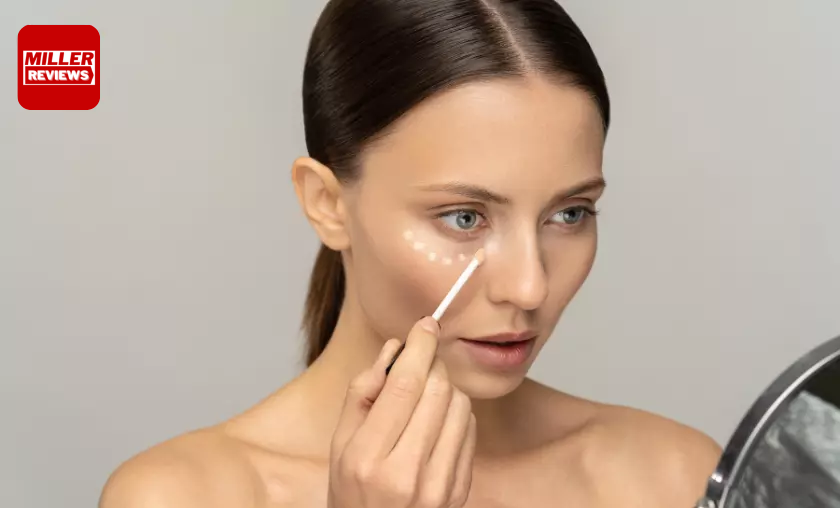
Concealers come in two main categories: liquid and stick/compact. Opt for a liquid concealer if you want light coverage over a larger area. It’s also great for achieving a light finish, especially in wrinkle-prone areas around the eyes and mouth. On the other hand, stick and compact concealers are perfect for heavier coverage on specific face areas.
When choosing a concealer, it’s smart to have two shades. One should closely match your skin tone and can be used to cover blemishes, dark spots, and pimples. The other shade should be lighter than your skin tone and works well for highlighting and adding clarity to your overall makeup look.
To tackle dark under-eye circles and achieve a bright, radiant look, apply a light concealer beneath the eyes using a damp sponge or makeup brush. Consider using a dark circle cream for additional coverage.
When using concealer to minimize the appearance of blemishes, directly apply it to the problem areas for targeted coverage.
For a highlighting effect, use a liquid or cream concealer and place small dots in specific areas:
- Horizontally over the center of your forehead
- Down the center of your nose
- Under your eyes
- In a curving arch just below your bottom lip.
Blend the concealer gently into the surrounding skin, and always remember to follow up with foundation or setting powder to complete the look.
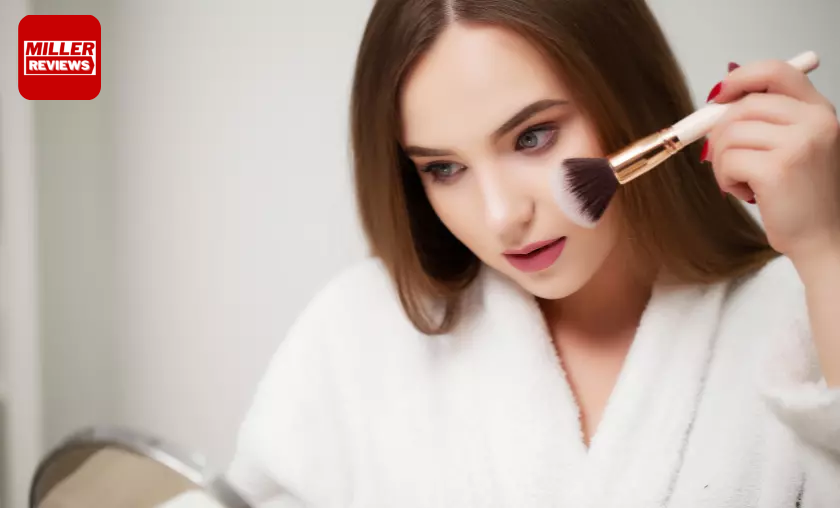
The 5th Step is to Use Foundation Powder:
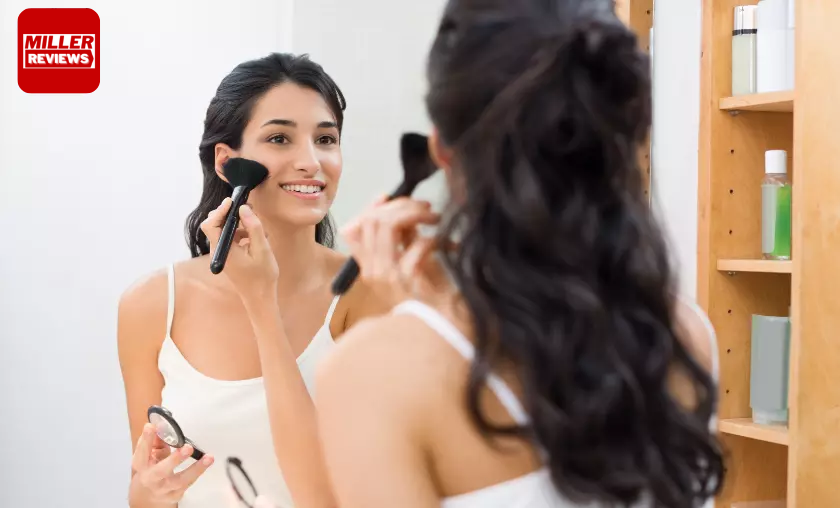
When applying foundation powder, finding the right balance is key. You don’t want to skimp on it and miss out on the benefits, but you also want to avoid going overboard and ending up with a cakey appearance. To achieve that coveted flawless complexion, keep these tips in mind.
Start using a large, fluffy powder brush to lightly dust a thin layer of powder all over your face. Gently press the bristles into the powder and sweep it across your skin in long, sweeping strokes. This will ensure an even application and a natural finish.
If specific areas of your face require more coverage, such as the center, where redness and oiliness tend to concentrate, you can apply a bit more powder. Simply dip your brush into the powder and firmly press it into the skin, allowing the powder to reach pores and fine lines for a smoother texture.
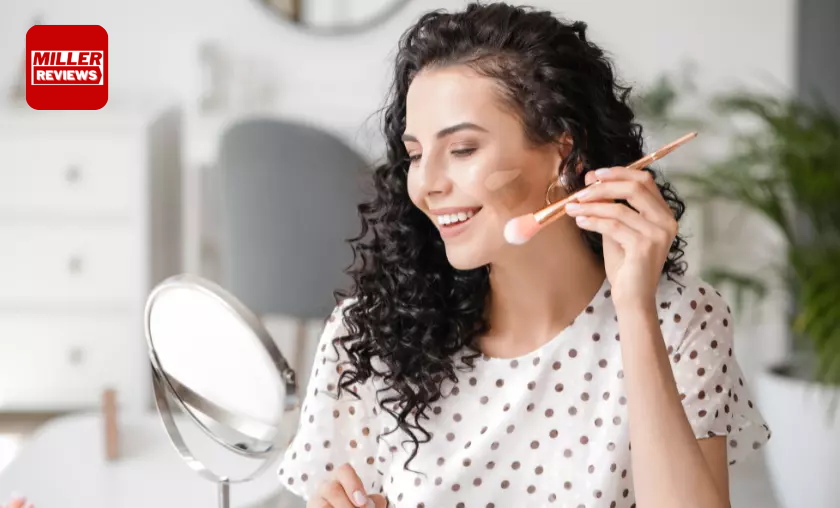
The 6th Step is to Bring Out the Bronzer:
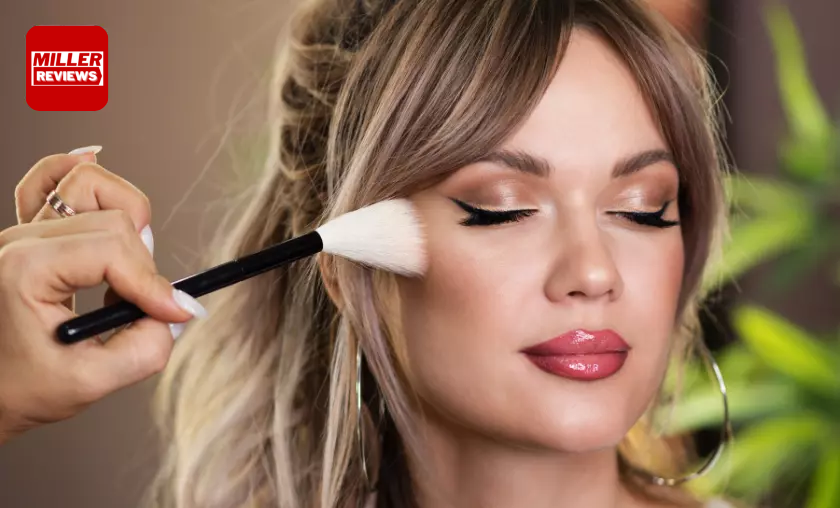
Bronzer is the secret weapon for achieving a gorgeous, sun-kissed glow regardless of the season. Grab a specialized bronzer brush to make the most out of your bronzer.
These brushes are designed with more bristles placed tightly together, ensuring each swipe delivers a vibrant tan to your face. Choosing the right shade of bronzer is crucial to avoid common blunders. If you’re new to using bronzer, opt for a shade that is at most two shades darker than your natural skin tone.
Now that you’ve found the perfect shade, it’s time to apply the bronzer strategically. Imagine creating the shape of a number “3” on both sides of your face. Begin at your forehead and gently sweep the bronzer along your cheeks, continuing down to the jawline and extending to your chin. Remember to blend it seamlessly into your neck for a natural look.
The 7th Step is to Not Forget to Blush:
Blush is a timeless beauty tool that instantly elevates your complexion with color and radiance. To maximize the impact of your blush, reach for a dense brush with an abundance of bristles. This will ensure that each sweep of blush delivers the perfect amount of pigment to your cheeks, giving you a vibrant and natural-looking flush.
When it comes to applying blush, there’s no universal rule. Let the color of your blush guide you in determining where to use it. Consider the effect you want to achieve and the shape of your face. Whether you prefer a subtle pop of color on the apples of your cheeks or a more sculpted look with blush applied along your cheekbones, let the blush shade be your compass to create a customized and flattering flush that enhances your unique features.
- Pink blush should be applied to the apples of your cheeks, mimicking the natural flush of your face when blood pools in that area. Smile to locate the apples of your cheeks.
- Plum blush works well for medium to dark skin tones and can be applied like a light pink blush for fair complexions.
- Peach blush can be used to sculpt your face and add a subtle touch of color. Twist one side of your face and sweep the peach blush along your cheekbones, starting near your ears and ending at the apples of your cheeks.
The 8th Step is to Apply Highlighter:
The right Highlighter is the key to adding a touch of glam and glows to any makeup look. A highlighter can enhance your overall makeup application, whether you’re going for a subtle natural look or a bold and beautiful style.
Highlighters come in various forms, such as liquids, creams, and powders. You can experiment with using a single type or mix and match different formulas to find your perfect combination. Regardless of the Highlighter you choose, the application process remains consistent.
Once you’ve achieved a flawless canvas with your foundation routine, it’s time to identify the areas of your face that you want to accentuate with Highlighter. These strategic areas will help create dimension and luminosity to enhance your features.
To achieve a radiant glow, start by applying a liquid highlighter in the following areas:
- Down the bridge of your nose.
- Across the tops of your cheekbones.
- In the inner corners of your eyelids.
- On your brow bone.
- The indent above your upper lip (Cupid’s Bow).
- The center of your forehead.
- The center of your chin.
Once you’re satisfied with your liquid highlighter application, it’s time to blend it in using either your fingertips or a sponge. This step helps to seamlessly integrate the Highlighter into your skin for a natural-looking glow. To take your highlighting to the next level, consider layering cream or powder highlighters over the areas you want to accentuate. This additional layering technique can intensify the luminosity and give your complexion an extra boost of radiance.
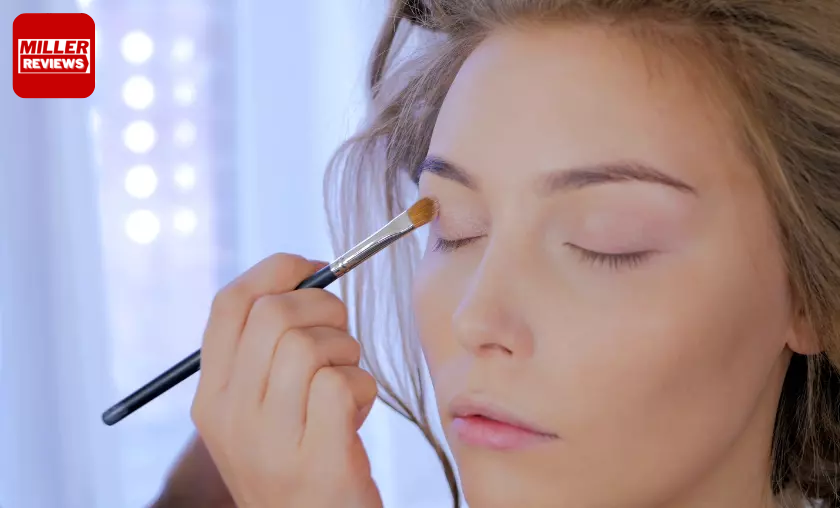
The 9th Step is to Apply Eyeshadow:
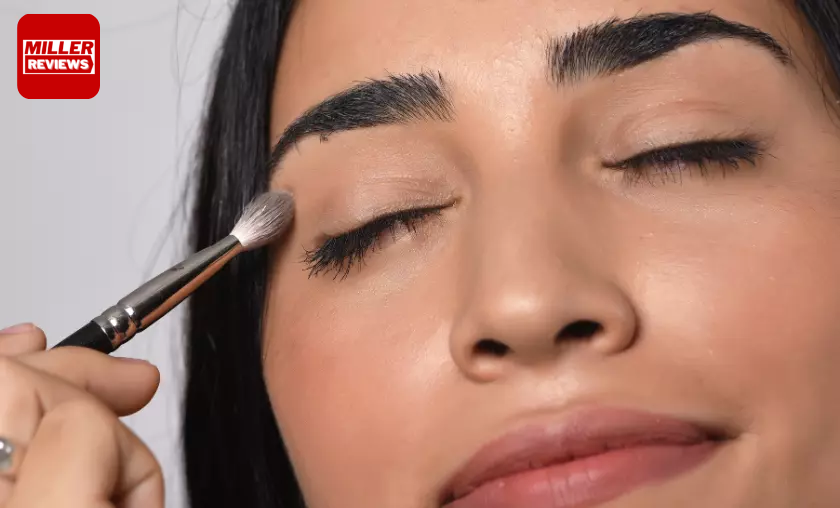
Eyeshadow is a fantastic way to enhance your makeup look, whether you prefer subtle neutrals or vibrant pops of color. Grab two complementary shades to achieve a stunning eyeshadow effect: one lighter and one darker.
Dip into the lighter shade using your eyeshadow brush and tap off any excess product. Apply the lighter shadow across your entire eyelid, starting from the lash line and extending just above the crease.
Next, dip your brush into the darker shade, tapping off any excess. Apply the darker color at the outer corner of your eye, just above the lash line. Sweep it along your eyelid crease, stopping around the center of your eyelid to avoid darkening the inner corners. To blend the two shades seamlessly, use a clean shadow brush. Feel free to reapply the darker shadow for an even more intensified look.
The 10th Step is to Highlight with Eyeliner:
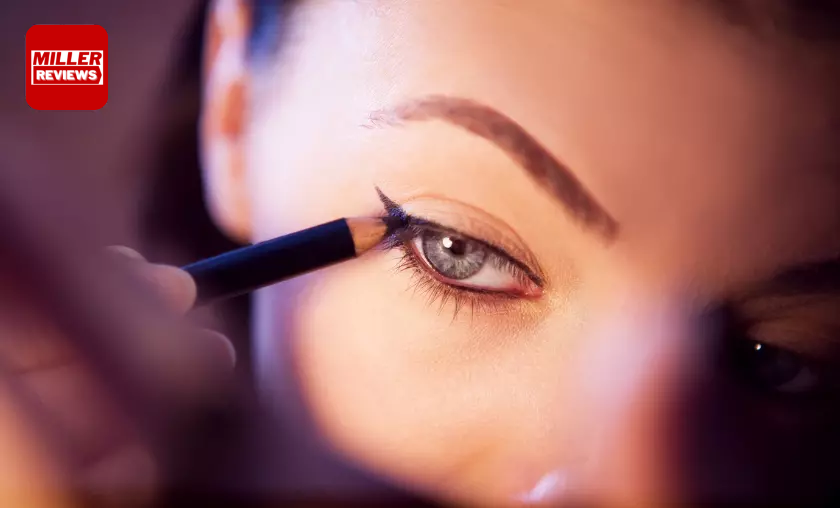
First, Identify the Sort of Eyeliner you want to use
Liquid eyeliner:
- Liquid eyeliner offers precision and comes in bottle form or marker-type pen.
- Start thin at the inner corner and gradually thicken the line towards the outer corner.
- Keep the liner close to the lash line, use small strokes to create dashes, and then connect them.
- If you make a mistake, use eye makeup remover on a Q-tip to clean it up.
Gel eyeliner:
- Gel eyeliner comes in a pot and is applied with a thin brush.
- Dip the brush into the gel eyeliner and start in the middle of the lash line, working outwards.
- Draw a line from the inner corner towards the middle and connect the two lines.
- Great for achieving a cat-eye look.
Pencil eyeliner:
- Ideal for beginners and easy to use on the waterline.
- Use a sharp pencil eyeliner.
- Perfect for creating a smoky eye.
When applying pencil eyeliner, make sure to sharpen it before every use for precise application. Begin by gently pulling your eyelid taut, then draw small, light dots starting from the outer corner of your upper eyelid. Continue dotting along the lash line, moving towards the inner corner to create a thin, dotted line that closely follows the lash line. Finally, connect the dots using a pencil or a small shadow brush to blend them in seamlessly. This technique helps achieve a cohesive and defined eyeliner look.
The 11th Step is to Us Good Mascara:
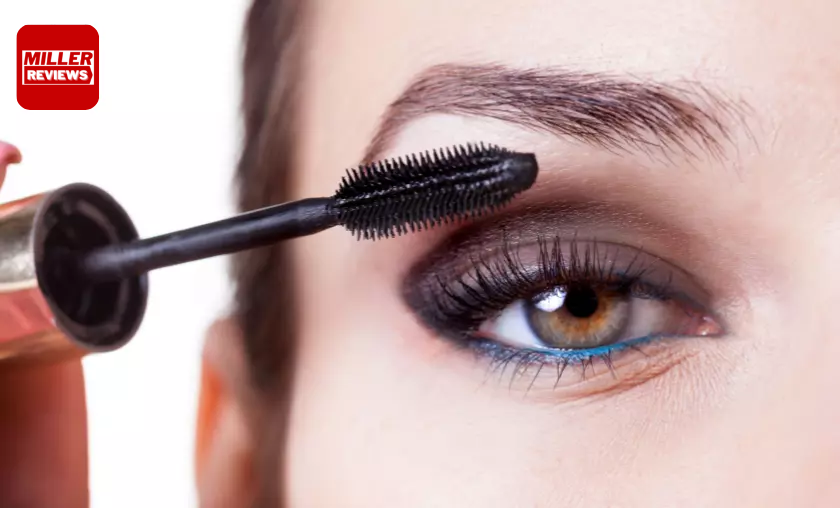
If there’s one makeup product you shouldn’t skip, it’s mascara. It’s a game-changer for making your eyes pop and look more vibrant in just a few quick swipes.
While different mascara colors are available, black and brown are the classic choices that never disappoint. Before applying mascara, remember to curl your eyelashes using an eyelash curler. This step helps lift and enhance your lashes, giving them a more dramatic and eye-opening effect.
How to curl your eyelashes:
- Place the curler at the base of your upper lashes, careful not to grab any of the skin around your eyelid.
- Gently close the curler.
- Hold it in place for a few moments.
- And Release gently
Once you’ve curled your eyelashes to perfection, it’s time to grab your trusty tube of mascara. Give it a gentle swirl to ensure all the bristles are coated with the mascara goodness. Remember, avoid pumping the wand into the tube to prevent air from getting in and potential clumping issues.
Now, with a light hand, wriggle the mascara brush across the roots of your lashes. This technique adds instant volume, which you can pull through to the ends of your lashes for that full, luscious look. If your lashes stick together, grab a clean wand and brush through them to separate and define them.
The 12th Step is to Glossify Your Lips:
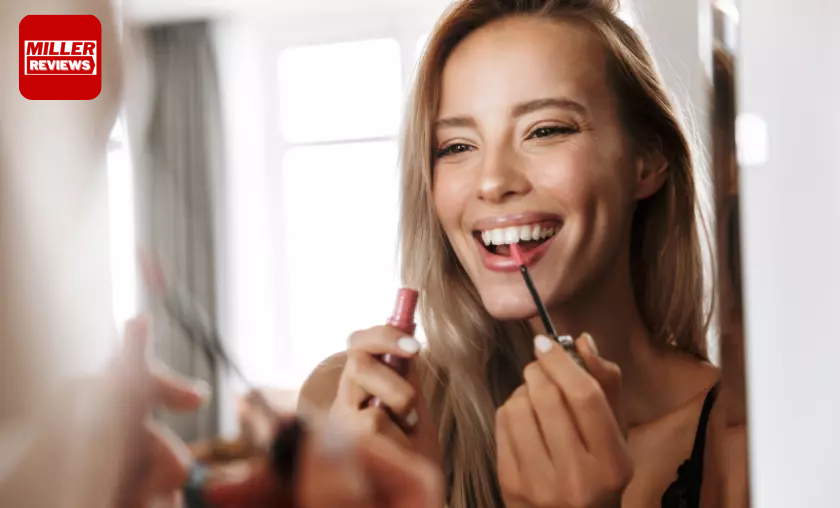
If your lips feel chapped and cracked, give them some TLC with a gentle lip scrub to bid farewell to any dead skin. Follow up with a protective lip gloss to keep them looking fabulous. Next, give your lips some extra love by applying a lip conditioner or Moisturizer to soften them up even more. Once your lip balm has worked magic, gently blot away any excess.
Now, it’s time to unleash the glossiness! Start by applying your lip gloss at the center of your lips, then smoothly drag the applicator along the length of your pout. Be careful not to overextend the gloss beyond your natural lip line to maintain a natural look. Give your lips a light smack together to ensure every nook and cranny is coated with gloss.
And Voila! Your lips are now ready to shine with a mesmerizing gloss.
Finally, The 13th Step is to Set Up Your Powder & Spray:
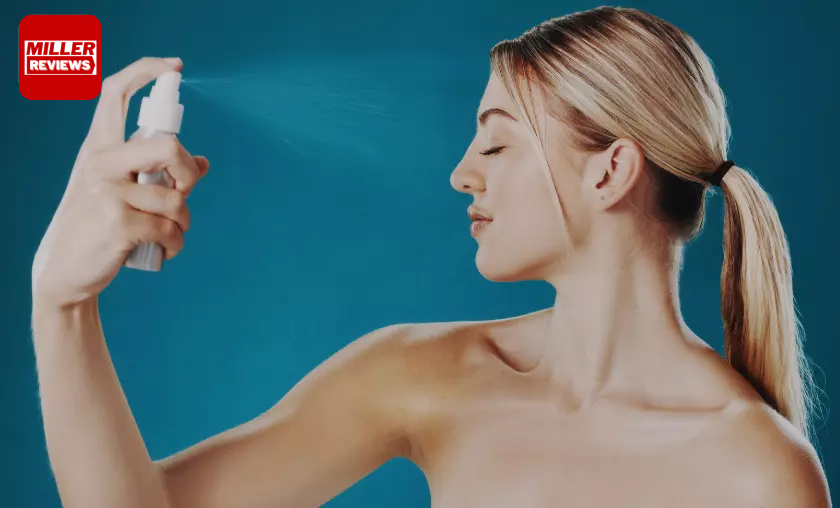
Setting spray or setting powder is the ultimate secret weapon for a long-lasting and flawless makeup look. Investing in a high-quality setting solution is a must if you’re aiming for makeup that stays put throughout the day without any unwanted greasing, creasing, or shine.
Setting sprays are suitable for all skin types and can work wonders whether you prefer a natural, barely-there look or a full-on glamorous masterpiece. Using a setting spray lets you keep your makeup locked in place, minimizing the need for touch-ups and ensuring your look stays flawless for hours on end.
Applying setting spray is akin to using hairspray to maintain a stylish hairdo, and the technique is quite similar. Hold the bottle around 8 inches from your face, then lightly spritz a few times to ensure every inch of your face is covered. For comprehensive coverage from forehead to chin, start by spritzing in an X shape across your face, then follow it up with a spritz in the shape of a T.
Conclusion
In conclusion, mastering the art of makeup application is a journey filled with experimentation and learning. Following the right techniques and using the proper tools can achieve a flawless, personalized makeup look that enhances natural beauty. Remember, it’s all about understanding your unique features, choosing the right products, and practicing with patience.
Whether you’re a beginner or an experienced makeup enthusiast, this guide has provided you with valuable insights and tips to help you navigate the world of makeup application. From creating a flawless base with foundation and concealer to adding pops of color with eyeshadow and blush, each step plays a crucial role in achieving a stunning final look.
So, embrace your creativity, have fun with different makeup styles, and don’t be afraid to experiment. With practice and a little help from this guide, you’ll become a makeup pro in no time. Get ready to rock your favorite looks and confidently show the world your unique style!
For More amazing articles related to Beauty Check out our website Over Here
To Read more similar articles click here
Thanks for visiting our Website. If you appreciate our work, kindly show us some support in our comments section 🙂